

Here’s a method for transferring designs and drawings to cookies so you can “paint” them with decorative icing. For a themed party or just for fun, you can find a special design and mark it on a cookie to place outlines that you can fill in with contrasting icing. And what’s the medium for doing the marking? White flour, or powdered sugar or cocoa powder. Curious about this? Need to do make special cookies for a special event? Try this method for how to draw designs on cookies, so you can do some cookie painting with contrasting colored icings. Watch my demonstration video here.
1. Draw a design on a piece of paper and cut it out. Or find a suitably sized design you can cut out.
2. On another piece of paper, cut a shape in the same size and shape of the cookie.
3. Draw the design onto the cookie-shaped paper by using the largest pin you can find, to poke holes through the lines of the drawing. You can use a piece of cardboard under the paper to receive the sharp tip of the pin.
4. Then from the back side of the shape, try to stress and enlarge the holes. Poke through and swivel the pin around in the holes. A light finishing nail is more effective at this step, but if you choose to do use a nail, do it carefully to avoid injury.
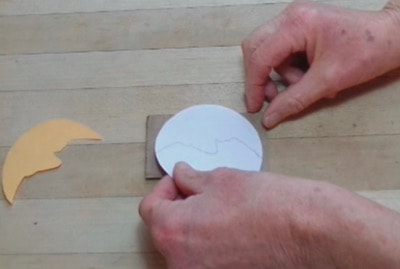
5. Place the cookie-shaped paper on top of a baked, cooled cookie.
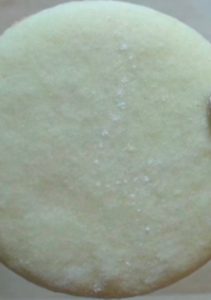
6. Using powdered sugar, white flour, or cocoa powder, transfer the design to the cookie by pressing the powder through the holes. The design will show up on the cookie as lines of white dots or brown dots if cocoa is used.
7. Apply contrasting icing to areas inside and outside the dotted lines, as you’d like.
Watch my Video demonstration of this recipe.
Subscribe to the Domestic Bliss blog for more delicious recipes and videos
Learn more about the Dome Dough Maker