
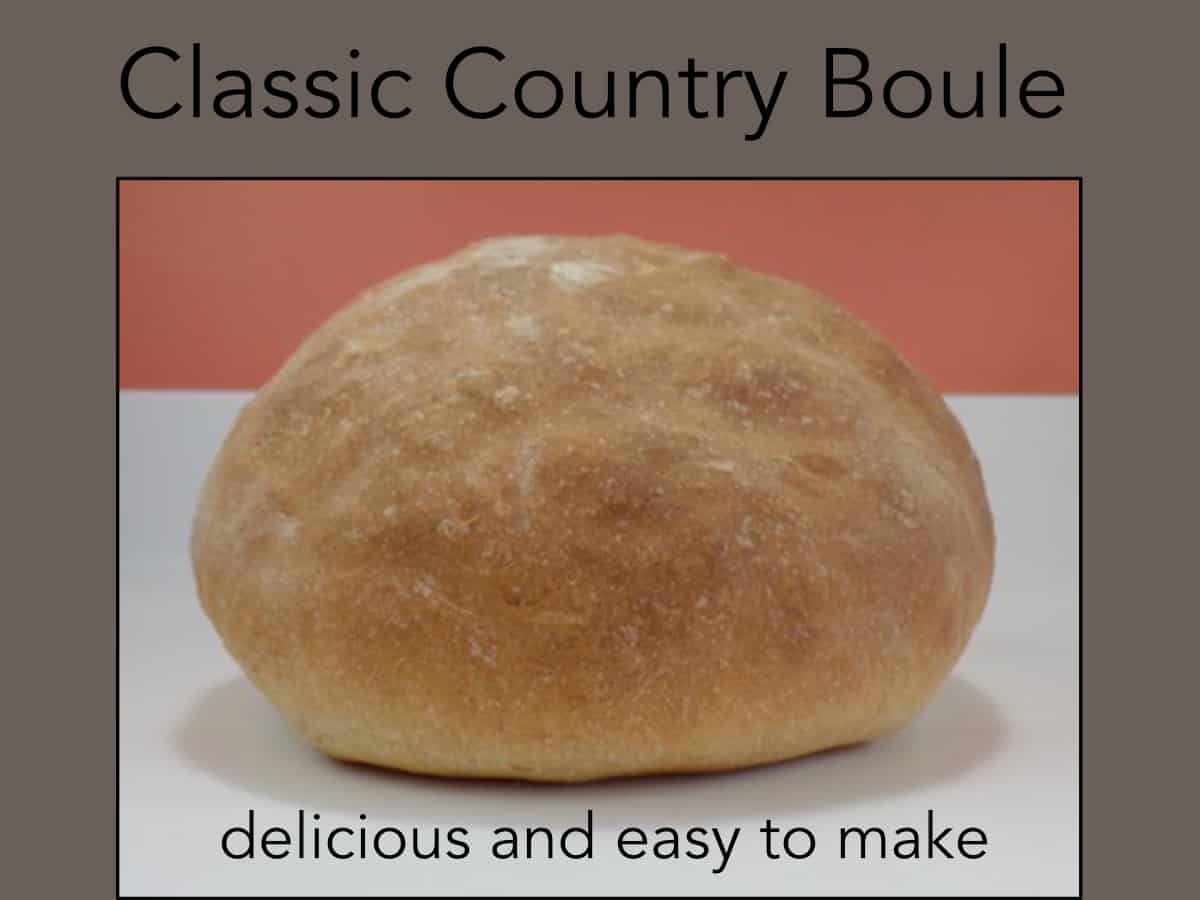
 This is an easy artisan bread recipe in the shape of a classic country boule. The recipe rises up beautifully for an easy crusty bread with a nice open crumb. I show how to make it without using a banneton proofing basket, but also how to use one. You can bake this bread without a dutch oven on any kind of baking pan. The process will take about four hours to complete – but only about fifteen to twenty minutes of your time. Are you in the mood for a homemade artisan bread to a round out a meal? This one is sure to please and if you line your baking pan with some parchment paper, you’ll have very little clean up.
It requires a little more attention than my earlier post for a simple boule, but does rise higher with a very good texture. The better rising is due to two sessions of stretching and folding during the proofing. When stretching and folding, you’re stacking the dough on top of itself to create more bonds between the gluten fibers, so the dough can rise higher. Like the earlier post, the bread making starts with an autolyse – the process in which you mix the flour and water together and allow the mixture to sit for 15 or 20 minutes while the gluten activates. Because gluten gets such a good head start, only a little kneading is required. And if you use the dome to knead with, it will go efficiently, quickly and with minimal cleanup.
Then the dough is set out to proof for a few hours interrupted by the two stretching and folding sessions. The detailed directions follow. And here’s the link to my Video on making this bread.
Ingredients
12 oz of water (1½ cups)
.11 oz of yeast (1 tsp)
.30 oz of salt (1½ tsp)
.10 oz of molasses (½ tsp)
16 oz of all purpose flour (3 packed cups)
Directions:
- Add the water, yeast, salt and molasses to a mixing bowl. Stir it well.
- Stir in the flour until consistently wet. Scrape in all the flour that clings to the bowl. Autolyse by allowing the mixture to sit for 15 to 20 minutes.
- Knead by spreading the dough with the dome to stretch and align the gluten. Turn the bowl so the spreading is done in all directions. Do this about a dozen times.
- Cover the dough with plastic wrap or a beeswax cover to keep the dough from forming a skin.
- After 45 minutes of proofing, stretch and fold the dough. You can do this right in the bowl. Take a section of dough, stretch it up and out and fold it over itself. Continue in a circle stretching sections and folding them over. You’re stacking up the dough. Then cover with wrap and let it proof another 45 minutes.
- Do another round of stretching and folding. Cover the bowl and let the dough proof another 30 minutes or so.
- To shape the dough, scrape it out of the bowl onto a floured surface, dust your hands with flour and begin to shape it into a ball. You take a section of dough and fold it over to the center, and then take another section and fold it over to the center, continuing until a ball is formed.
- To ensure good oven spring, you want to create tension on the top surface of the dough ball. You hold the dough ball in your hands and gently pull the top surface of the dough underneath to stretch and tighten the top. This tension is like an elastic band that can expand with oven heat but still hold a good boule shape.
- Take a cookie sheet or other shallow baking pan and dust it with a ten to 12 inch circle of cornmeal, oatmeal or bran, or place some parchment paper on it. Place the dough ball top side up on the cornmeal, etc. to rise until doubled in volume. This will take about an hour and a half in a 68° – 70°F room.
- When you sense the dough is close to double the volume, preheat the oven to 450° F.
- Bake the loaf at 450° F for 25 minutes, then lower the temperature to 375° F and bake another 10 to 15 minutes.
- Cool a couple of hours before cutting the loaf.
Using a banneton basket to shape the dough
- You might find it easier to shape the loaf in an 8½ inch banneton basket if you happen to have one. It won’t have as much oven spring without the dough-tightening step but will look very polished. If the banneton is new, first season it by soaking it in water for a few minutes and then placing about 1 oz (¼ cup) of flour in it. Turn the bowl sideways and move the flour around in a circle until the banneton is completely floured. Let it dry. Add a coating of flour to the banneton whenever you use it.
- Prepare your banneton by coating it with some flour ½ oz (2 tbs.) Form the dough into a ball as described above by taking sections of dough and folding them to the center. Then place the ball top side down in the banneton.
- When the dough overtops the banneton – about an hour and a half or so depending on room temperature – preheat the oven to 450° F.
- Sprinkle a circle of cornmeal, oatmeal, or bran, or use parchment paper on a baking pan to prevent sticking. Ease the dough out of the banneton and onto the cornmeal by turning the basket upside down and gently shaking it up and down until gravity takes over and the dough falls to the pan.
- Bake the loaf at 450°F for 25 minutes, then lower the temperature to 375° F and bake another 10 to 15 minutes. Cool a couple of hours before cutting.This recipe can be doubled. You can also substitute some whole wheat flour for white flour. If you do use some whole wheat flour, add a little more water to the recipe, about 2 tsp or ½ oz per cup of whole wheat flour.
This recipe can be doubled. You can also substitute some whole wheat flour for white flour. If you do use some whole wheat flour, add a little more water to the recipe, about 2 tsps or ½ oz per cup of whole wheat flour.
Watch my Video demonstration of this recipe.
Subscribe to this blog for more delicious recipes and videos
Learn more about the Dome Dough Maker